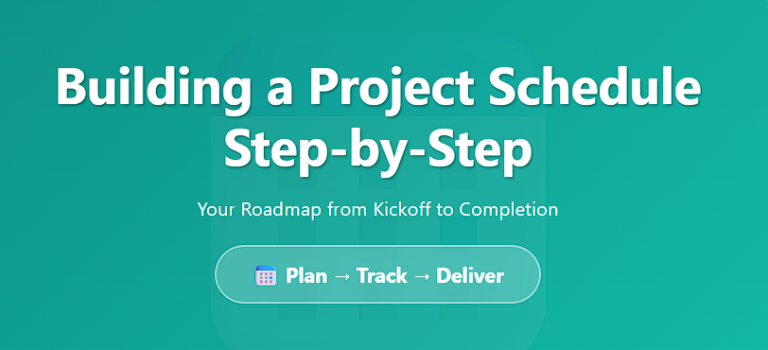
➡️ Introduction
Every successful project runs on a solid schedule. It’s the roadmap that connects your scope, resources, and deadlines — showing not only what must be done but when and by whom.
Top 5 Project Management Software
A project schedule translates big-picture goals into detailed, actionable activities. It aligns the team, guides progress tracking, and forms the basis for forecasting cost and performance.
In this guide, you’ll learn how to build a project schedule step-by-step, along with a responsive table you can embed directly into your documentation or website.
✅ What Is a Project Schedule?
A project schedule is a structured timeline that defines the sequence of activities required to complete a project. It includes:
✔️ Tasks and milestones
✔️ Dependencies between activities
✔️ Assigned resources
✔️ Start and finish dates
✔️ Critical path for completion
It’s more than a to-do list — it’s a dynamic control tool that helps project managers predict outcomes, manage resources, and respond to change.
✅ Step-by-Step Project Scheduling Framework
Practical steps for building a reliable project schedule with clear ownership and logic.
| Step | What to Do | Example / Tool |
|---|---|---|
| 1. Define Activities | Break deliverables into manageable tasks from the Work Breakdown Structure (WBS). | Decompose tasks using MS Project or ClickUp task lists. |
| 2. Sequence Tasks | Identify dependencies — which tasks must happen before others. | Use a network diagram or Miro dependency map. |
| 3. Estimate Durations | Use expert judgment or historical data to assign realistic timeframes. | PERT or three-point estimation formulas. |
| 4. Assign Resources | Allocate people, equipment, or materials required for each task. | Resource histogram or RACI matrix. |
| 5. Develop the Schedule | Sequence activities, apply durations, and identify the critical path. | Gantt chart or CPM analysis in Monday.com or Primavera. |
| 6. Set the Baseline | Freeze the approved schedule to compare against actual progress. | Baseline snapshot in project management software. |
| 7. Monitor and Control | Track progress, update variances, and re-forecast when needed. | Earned Value Management or burndown charts. |
✅ Best Practices for Effective Scheduling
✔️ Use visual tools – Gantt charts and dependency maps clarify sequencing.
✔️ Build in buffers – Allow contingency for high-risk or uncertain tasks.
✔️ Engage your team – Estimates are more accurate when contributors own them.
✔️ Update frequently – Keep your schedule living and relevant, not static.
✔️ Integrate with risk management – Link high-risk tasks to mitigation actions.
✅ Common Mistakes to Avoid
❌ Creating schedules without stakeholder input.
❌ Ignoring resource availability when assigning dates.
❌ Treating the baseline as unchangeable after approved updates.
❌ Skipping dependency analysis — the fastest route to bottlenecks.
✅ Tools for Building and Tracking Schedules
✔️ Microsoft Project – For advanced scheduling and critical-path analysis.
✔️ Monday.com – For visual Gantt charts and real-time team updates.
✔️ Miro – For collaborative planning and timeline mapping.
✔️ ClickUp – For integrated task, resource, and time management.
✅ Final Thoughts
A project schedule is not just a plan — it’s a management system.
It helps you predict outcomes, allocate resources intelligently, and maintain control over delivery performance.
By following these steps, your schedule becomes a living roadmap — guiding your team from kickoff to successful completion.
A great schedule doesn’t just tell time — it tells the story of how your project will succeed.