Introduction
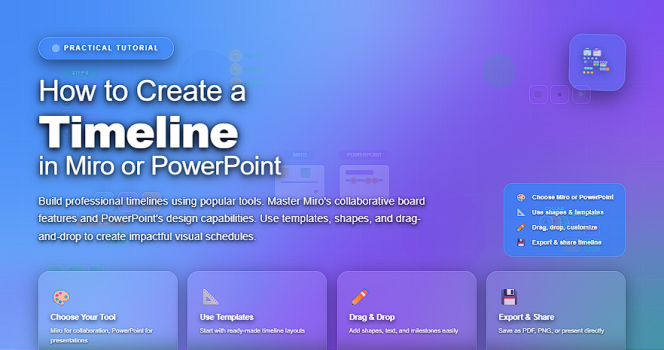
Timelines are one of the most effective ways to communicate plans, progress, and expectations. Whether you are presenting to executives, aligning a team, or explaining a project to non-technical stakeholders, a well-designed timeline makes information easier to understand and discuss.
Top 5 Project Management Software
✅ Timelines turn complex plans into clear visuals
✅ They improve alignment and reduce misinterpretation
✅ They support better planning and decision-making
Miro and PowerPoint are two widely used tools for creating visual timelines. Each offers different strengths depending on your purpose and audience.
Choosing Between Miro and PowerPoint
Before building a timeline, it is important to select the right tool.
When to Use Miro
Miro is best suited for collaborative and interactive planning.
✅ Real-time collaboration with teams
✅ Flexible canvas for brainstorming and iteration
✅ Ideal for workshops, planning sessions, and remote teams
Miro works well when timelines are co-created and frequently adjusted.
When to Use PowerPoint
PowerPoint is ideal for structured communication and formal presentations.
✅ Polished, presentation-ready visuals
✅ Strong control over layout and formatting
✅ Best for executive briefings and stakeholder updates
PowerPoint works best when timelines are finalized and presented, rather than continuously edited.
How to Create a Timeline in Miro
Step 1: Define the Purpose of the Timeline
Start by clarifying what the timeline should communicate.
Ask:
✅ Is this a high-level roadmap or a detailed plan?
✅ Is it for planning or for presentation?
✅ Who is the audience?
Clear purpose prevents unnecessary complexity.
Step 2: Set Up the Timeline Structure
In Miro, create a horizontal line to represent time.
Then:
✅ Add time markers (weeks, months, or phases)
✅ Keep spacing consistent
✅ Label the start and end clearly
This forms the backbone of the timeline.
Step 3: Add Activities and Milestones
Use shapes or cards to represent work items.
Best practices:
✅ Use rectangles for tasks or phases
✅ Use diamonds or icons for milestones
✅ Place items accurately along the time scale
Visual consistency improves readability.
Step 4: Use Color and Grouping
Color helps communicate meaning quickly.
For example:
✅ One color per phase
✅ Different colors for tasks and milestones
✅ Light colors for background, strong colors for focus points
Avoid excessive decoration—clarity is the goal.
Step 5: Collaborate and Refine
One of Miro’s strengths is collaboration.
✅ Invite team members to review
✅ Adjust sequencing based on feedback
✅ Capture assumptions and notes directly on the board
This turns the timeline into a shared planning artifact.
How to Create a Timeline in PowerPoint
Step 1: Choose the Right Slide Layout
Start with a blank slide or a simple layout.
✅ Use a wide slide layout
✅ Keep margins clean
✅ Avoid cluttered templates
A simple base gives you more control.
Step 2: Build the Time Axis
Insert a horizontal line or use shapes to represent time.
Then:
✅ Divide it into equal segments
✅ Label dates, phases, or milestones
✅ Keep text readable from a distance
Consistency matters more than visual effects.
Step 3: Add Tasks and Milestones
Use shapes to represent timeline elements.
Recommended approach:
✅ Rectangles for phases or tasks
✅ Circles or diamonds for milestones
✅ Align items carefully to the time axis
Alignment is critical for professional appearance.
Step 4: Apply Clear Visual Hierarchy
PowerPoint timelines work best when hierarchy is obvious.
✅ Use larger shapes for major phases
✅ Smaller shapes for supporting activities
✅ Bold text for milestones
This helps the audience understand priority at a glance.
Step 5: Review for Presentation Clarity
Before presenting, review the timeline critically.
Check whether:
✅ The message is clear within a few seconds
✅ Text is readable
✅ The timeline fits the audience’s level of detail
A good presentation timeline explains itself visually.
Common Mistakes to Avoid
Regardless of the tool, some mistakes reduce timeline effectiveness.
Common issues include:
✅ Overloading timelines with too much detail
✅ Using inconsistent time scales
✅ Focusing on design over clarity
✅ Treating the timeline as static
A timeline should support understanding, not distract from it.
Best Practices for Effective Timelines
Experienced project managers follow these principles:
✅ Start with logic, not visuals
✅ Keep timelines simple and focused
✅ Match detail level to the audience
✅ Update timelines as plans change
✅ Use timelines as communication tools, not just charts
Strong timelines tell a story about the project.
Final Thoughts
Creating a timeline in Miro or PowerPoint is not just a design exercise—it is a communication skill. The tool matters less than the clarity of thought behind it.
✅ Miro excels in collaboration and flexibility
✅ PowerPoint excels in clarity and presentation
When timelines are designed with purpose and audience in mind, they become powerful tools for alignment, understanding, and leadership—not just visuals on a screen.